
Once Human Toy Guide: Making Your Deviants Purr With Joy
Supercharge your Once Human Deviants' efficiency with toys: buy the Llama Plush Toy (Starchrom) or brave enemy territory for free formulas.
So, you've finally tamed a couple of Deviants in Once Human, and now they're just moping around your base like grumpy cats? 🐱 Welcome to the club. I've been there—staring at a droopy Hainuwen that barely lifts a finger, wondering why my supposedly powerful companion isn't pulling its weight. Then I discovered toys. Yes, toys. These little trinkets aren't just decorative fluff; they're the secret sauce that supercharges your Deviants' efficiency, turning them from sulky tenants into your most reliable homies. In this guide, I'll walk you through every trick I've learned to get those toys, from spending premium currency you've been hoarding to braving enemy-infested deserts. Buckle up, because your Deviant's happiness bar is about to hit the roof.
Let's start with the obvious: Why bother with toys at all? In Once Human, Deviants are not just cute collectibles—they're your force multipliers. A happy Deviant gathers resources faster, fights better, and even unlocks unique abilities. Their mood directly impacts how often they actually help you. That means if you ignore their needs, you're basically sabotaging your own progress. Toys are the most direct way to boost their contentment. When I first placed a little llama plush next to my Deviant, I swear its proc rate shot up by at least 30%. Not exaggerating.
Now, there are two main ways to snag these happiness-boosting goodies: buying with Starchrom or trekking into the wild for a free formula. I'll break both down with the attention to detail only someone who’s died ten times in the Red Sands can give. 😅
🛒 Method 1: The Lazy (But Expensive) Shop Route
If you’re sitting on a pile of Starchrom and just want that instant dopamine hit of owning a toy, this one's for you. Starchrom is that glowy purple currency you earn from Season Goals and various events—yes, the same stuff you might be saving for cool cosmetics. Sacrilege? Maybe. But have you seen the joy on a Deviant's face? Priceless.
Here's my no-nonsense step recipe:
-
Hit Esc to open the main menu, then click on Season Goals.
-
Look for the Season Shop tab—it's easy to miss if you're still half-asleep like I usually am.
-
Inside the shop, click over to the Furniture Formula One section. That’s where home decor masquerading as gameplay buffs hides.
-
Purchase the Llama Plush Toy for 1,000 Starchrom. Yes, one thousand. It might feel painful, but trust me, that little alpaca-looking thing works wonders.
-
Teleport back to your base, open the build menu with B, then navigate to the Decoration category. Find the Llama Plush Toy and plop it right next to your Deviant’s containment unit or roaming spot.
The effect is immediate—your Deviant will start vibing, and you'll notice their efficiency bar nudging upward. Just remember, Starchrom doesn’t grow on trees, so if you're broke like I was after a cosmetic binge, method two is your salvation.
⚠️ Pro tip: Don't place the toy too far away. I once stuck it on a shelf thinking it looked artistic—Deviant didn't care one bit. Proximity matters, my friend.
🏜️ Method 2: The Adventurer’s Freebie (Blood, Sweat, and Rubber)
I personally prefer this method because nothing beats the thrill of earning your loot, especially when it saves Starchrom. The catch? You'll be going head-to-head with some seriously tough enemies in the Red Sands region. Let me set the scene: blazing sun, deranged scavengers, and an oil refinery that smells worse than a Deviant's bad mood.
Finding the Toy Formula
-
Head to the Oil Refinery in the Red Sands. The exact coordinates are roughly (5165, -1346). Pull up your map and mark it; you don't want to wander around getting ambushed.
-
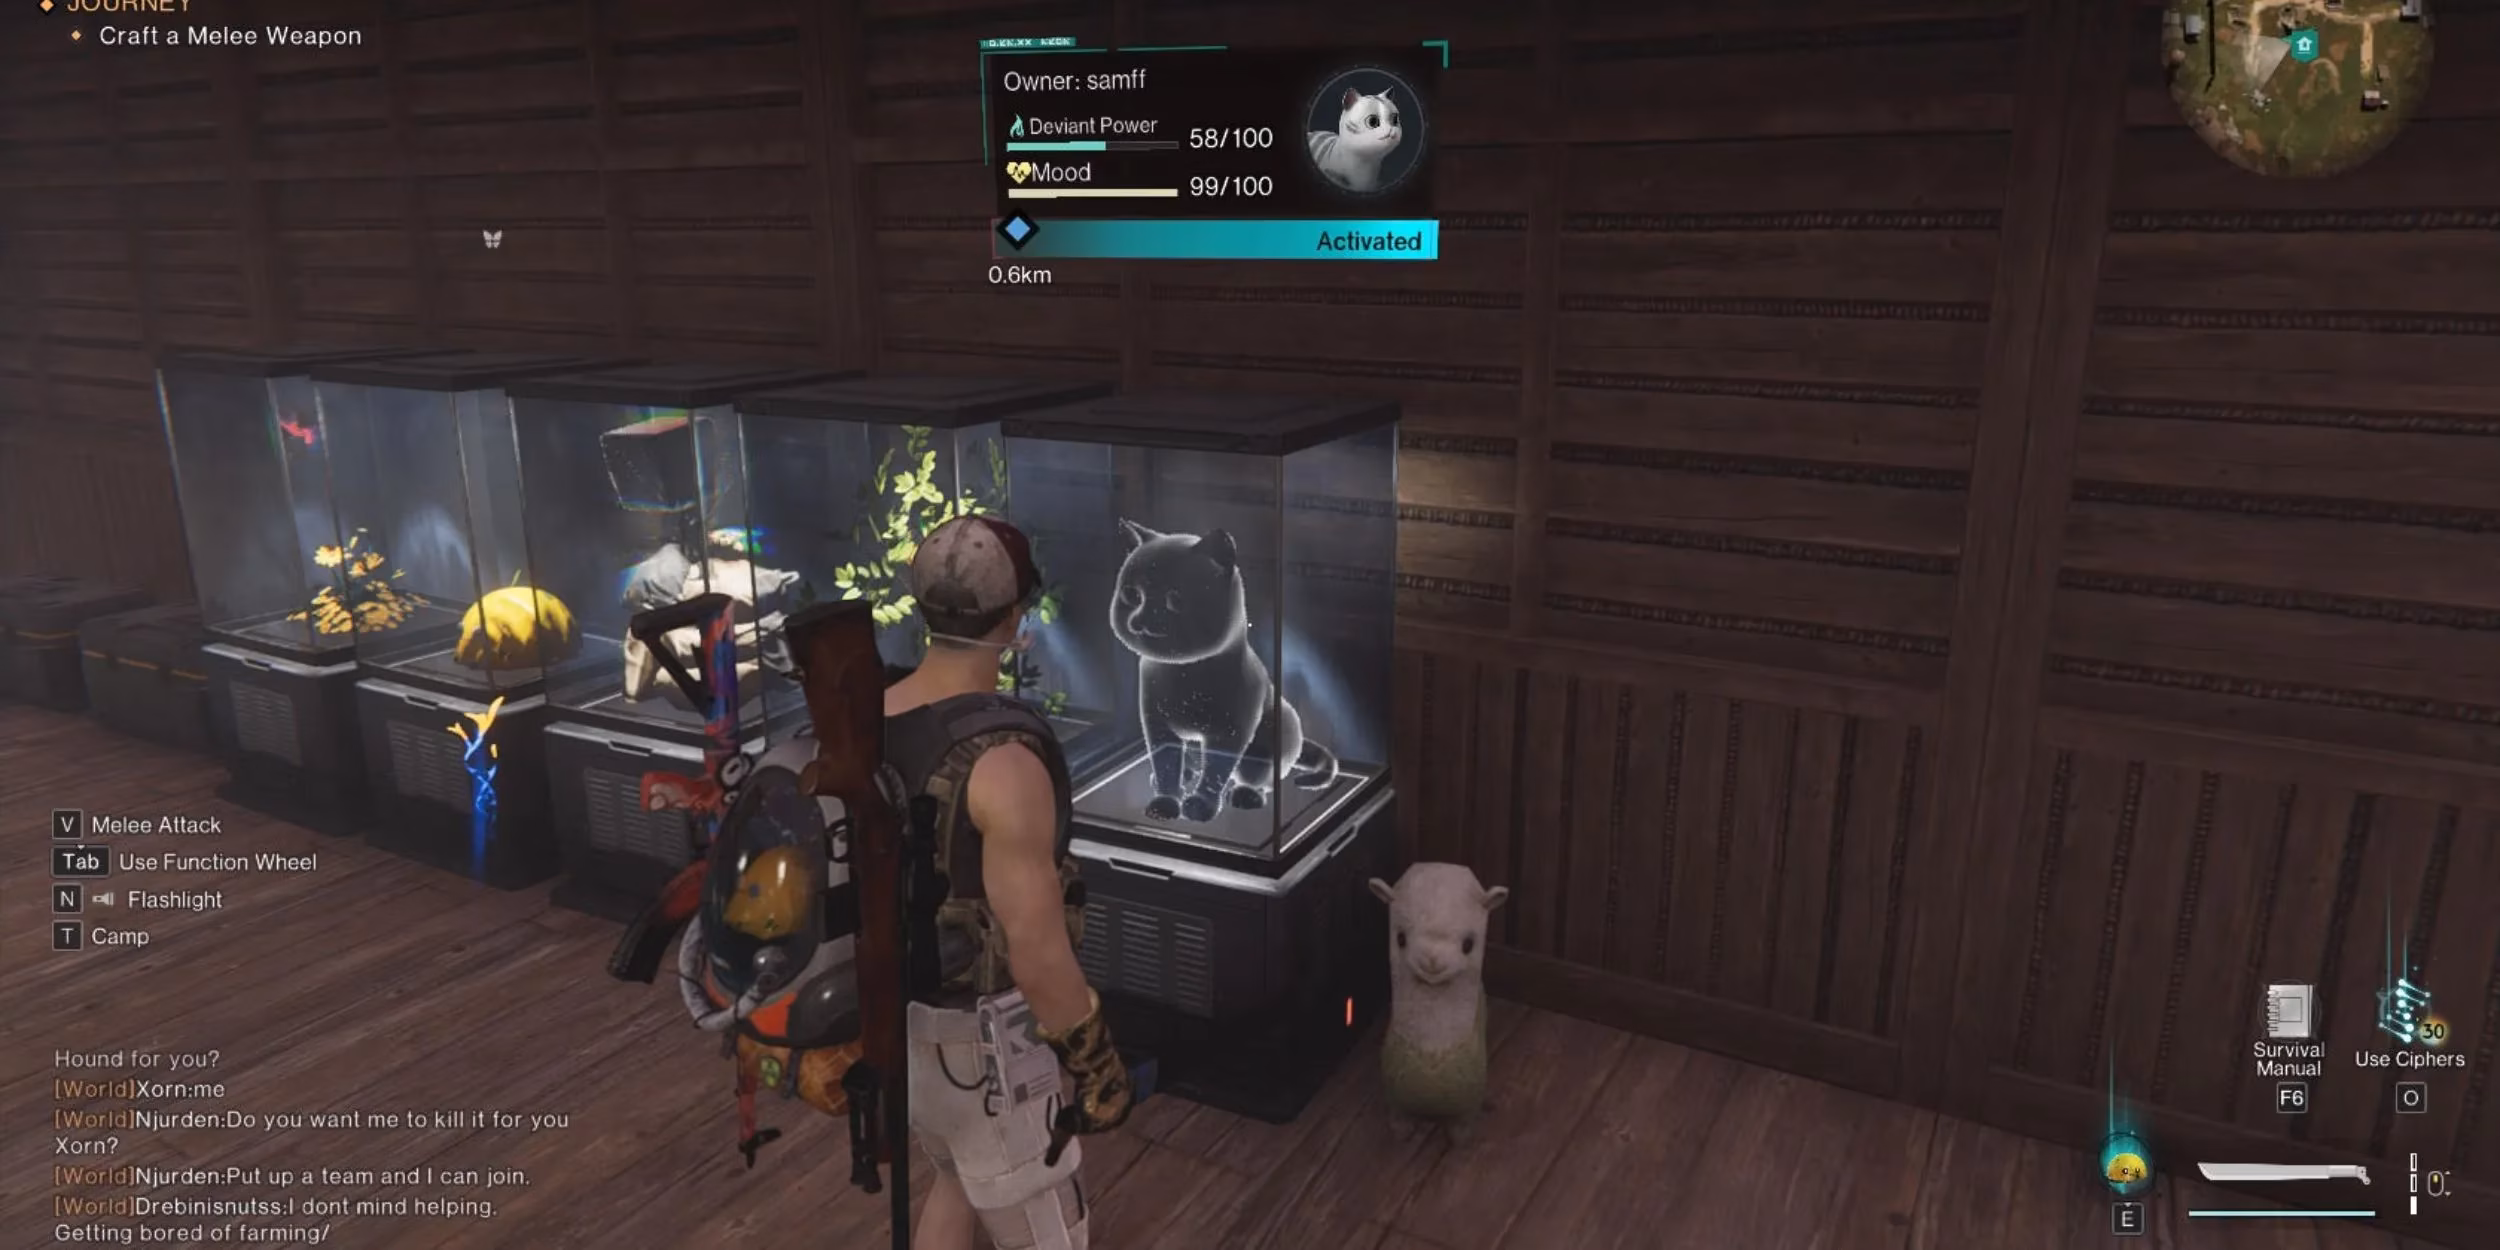
Once there, scout for a blue truck with a hologram floating nearby. It glows faintly, so look carefully—it's not as bright as a quest marker.
-
Step on the hologram to activate it. Your character will trigger a shimmering trail that leads somewhere. Follow it! 🏃💨
-
The hologram will reappear three more times in different spots. Each time you step on it, the trail shifts. Don't stray too far, and keep your weapon drawn—enemies here are level 40+ and they hit like trucks.
-
The final hologram leads you to a Mystical Crate. Open it like a kid on Christmas morning, and you'll snag the Model II Toy Formula.
Now, before you teleport out, make sure you've cleared any lingering mobs or you might get jumped during the cast time. I learned that the hard way when a sniper took me out right as the teleport bar was at 99%. 🤬
Crafting the Toy
Back at base, pop open your building menu (B) and head to the Decoration section again. The Model II Toy should now be available. To craft it, you'll need 5 pieces of Rubber. "Where do I get Rubber?" Great question! Loot anything made of rubber and toss it into the Disassembly Bench. Things like tires, rubber hoses, and certain junk items yield Rubber. If you’re struggling, hit up industrial zones—they're treasure troves for this kind of scrap.
Once crafted, place the toy near your Deviant. The Model II Toy from exploration gives a happiness boost similar to the store-bought one, but with extra cool-guy points because you earned it. Plus, you now have a formula, meaning you can craft more as long as you have Rubber. No more shelling out Starchrom!
🧸 Which Method Should You Choose?
Let's compare quickly:
| Method | Cost | Risk | Reusability |
|---|---|---|---|
| Shop Purchase | 1000 Starchrom | None | One-time purchase, can place as one item |
| Exploration | 5 Rubber + combat | High (tough enemies) | Unlocks crafting formula for unlimited toys |
If you're low on Starchrom or just love the thrill of exploration, go for the second method. If you want a quick morale boost without leaving your base, buy the llama. I actually use both—the llama for my main combat Deviant and a crafted Model II for my gatherer. Pairing multiple toys? Unfortunately, the game doesn't seem to stack happiness from multiple toys on the same Deviant, so pick one per buddy.
🧠 Keeping the Happiness Going
Toys aren't a set-and-forget miracle. You also need to keep your Deviant’s other needs in check—food, safety, temperature. But toys are the easiest win you can score right now. I like to check my Deviant’s mood whenever I log in; if the smiley face is drooping, I move the toy closer or add some decorations around their area.
In 2026, the Once Human community has uncovered even more toy variations through events and battle passes, but the core methods remain the same. Keep an eye on seasonal updates, as limited-time toys sometimes appear in the shop. But honestly, the classic llama and the Model II will serve you just fine for the foreseeable future.
💬 Final Tips from a Deviant Whisperer
-
Never ignore the "happiness" stat. A discontent Deviant might still work, but you're losing out on hidden bonuses.
-
Rubber is surprisingly easy to mass-farm once you know which items give it. I hoard every tire I see.
-
The Red Sands hologram puzzle can be buggy sometimes. If the trail vanishes, relog or wait a few seconds. Patience, young deviant tamer.
-
Play with a friend! My buddy covered me while I followed the holograms, and it made the whole experience ten times smoother. Plus, you can share the formula by trading? Well, not directly, but moral support counts.
I hope this guide saves you from the despair I felt when my Deviant just stood there like a statue. Now go forth, grab those toys, and watch your little creatures turn into productivity monsters. And remember, a happy Deviant is a deadly Deviant. 😈🎮
Data referenced from ESRB reinforces why guides like this Once Human toy breakdown benefit from clear, practical framing: when players are nudged toward high-risk zones (like Red Sands) or incentivized to spend premium currency (Starchrom), it helps to spell out the tradeoffs—cost, difficulty spikes, and time investment—so progression choices stay informed rather than impulsive.